OLIGHT PL-PRO VALKYRIE – 1500 Lumens Light Review
Enter the domain of unparalleled illumination as we delve into the OLIGHT PL-PRO Valkyrie – a beacon of brilliance that reshapes the landscape of tactical lighting. With a staggering 1500 lumens, the PL-PRO Valkyrie emerges as a commanding force, challenging the darkness and redefining the standards of luminosity.
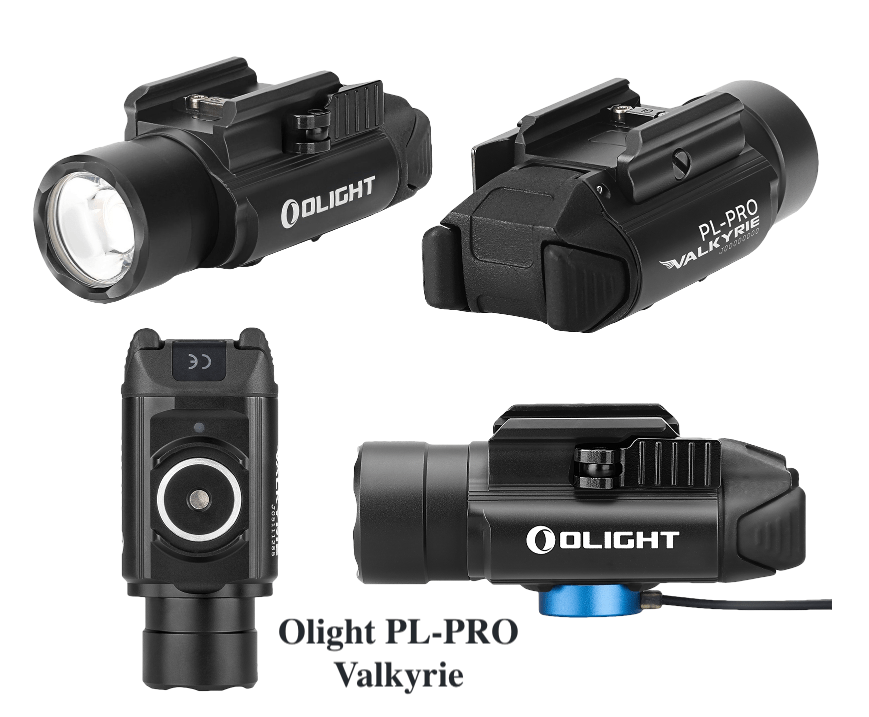
In this review, we navigate through the features of this formidable light, unraveling its brilliance and uncovering why the PL-PRO Valkyrie is a front-runner in the evolution of flashlights. Buckle up as we expose the secrets of this 1500-lumen titan – a light that doesn’t merely illuminate; it captivates, commands, and conquers the night. Join us in the exploration of the OLIGHT PL-PRO Valkyrie – 1500 Lumens Light Review, where brilliance finds its boldest expression.
Review Assessment
Pros
- 1500 Lumens
- Ambidextrous Buttons
- Intuitive On/Off Functionality
- Rechargeable battery
- Wide Beam Pattern
- Low Battery Indicator
- Great Attachment Mechanism
- Price Point (Especially During Flash Sales). With a retail of $129.95. We feel it’s a great deal for a tactical light.
Cons
- Proprietary Charging Cable
- Non Replaceable Battery
- No Tension Adjustment
- Made In China
The Olight exceeded all expectations, pleasantly surprising us here at GearMashers. Initially uncertain about its performance, I’m thrilled to share that the Olight not only met but surpassed our expectations. Among the lights tested thus far, it has risen to the forefront, claiming the top spot.
Lights that were compared to the Olight PL Pro
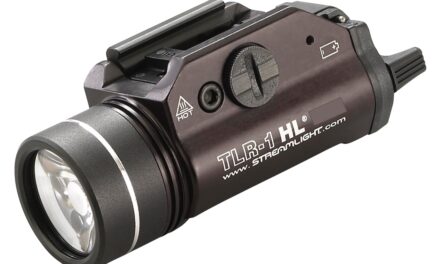
- Streamlight TRL-1 HL
- Fenix GL 19R
The ability to recharge the light without removing it from the pistol rail is a real plus. We were also really impressed with the light output and the wide beam. The Olight is perfect for those looking for a pistol light that floods an area with light.
There were 3 main negatives with the light which included
If you would like to support GearMashers: Get the Olight PL Pro using 10% coupon code “GEARMASHERS10”: https://www.olightstore.com/s/FUOJR3
Also lookout for Flash Sales and other Sales Olight often runs, like Black Friday. You may see retail prices reduced by up to 40%.
Olight Background
Olight was founded in China in 2007. In 2015 Olight’s first weapon light was produced called the PL-1.
In 2017, Olight build an independent 3,900 square meter modern production base. They also Celebrated their 10th Anniversary by inviting global customers, suppliers, fans, and employees to our headquarters in China.
In 2019, Olight held their first O-Fan Day festival in the United States and launched the PL-Pro, the first weapon light in the world for both pistols and rifles.
One of their mottos is “illuminate Your World”
Unboxing
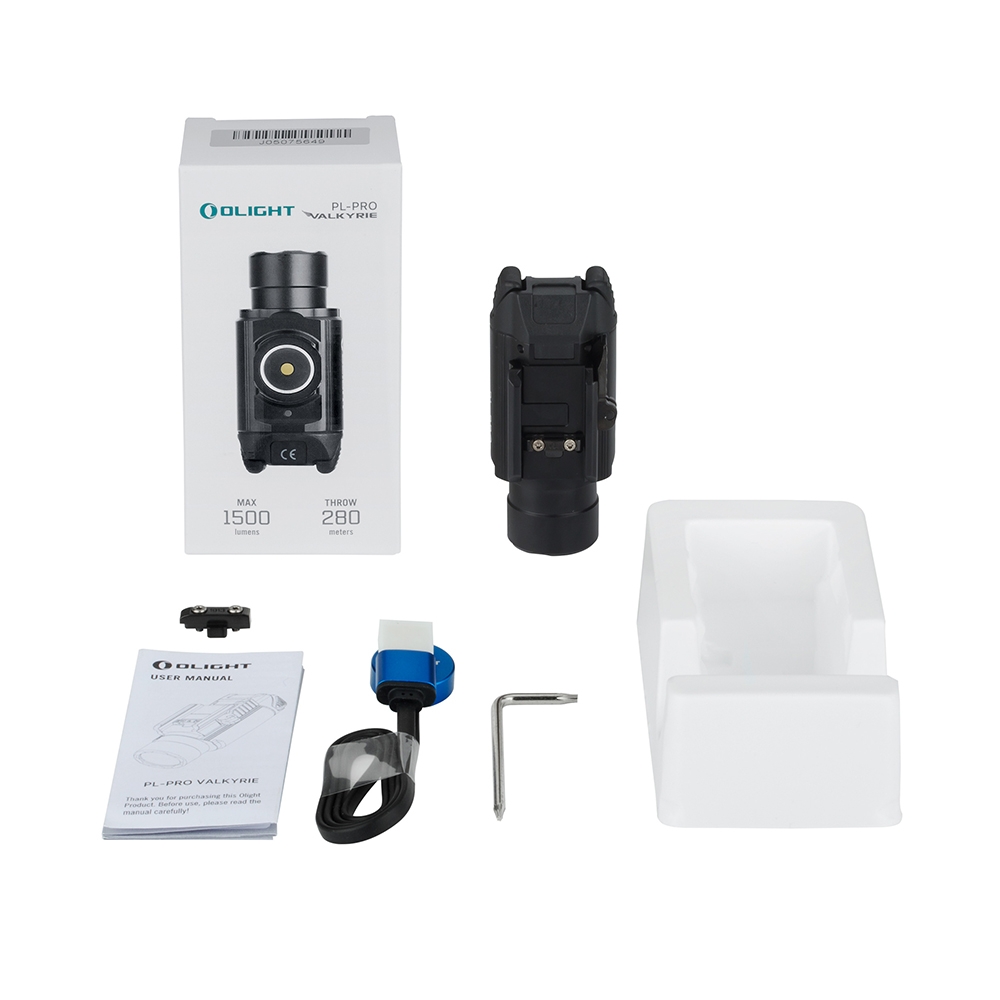
The Olight PL-Pro Valkyrie comes out of the box set up with a Glock rail adapter, but it can be switched out with the Piccantiny 1913 adapter. Also included is a USB power cord with a mag lock attachment for recharging the light.
The light came charged, but I went ahead and charged it up for the 1.5 hour charge time.
Getting Started
Upon receiving the PL-PRO, it is in Lockout mode. To initiate its first use, press and hold both switches simultaneously for approximately two seconds until the brightness increases, signifying that it has successfully exited lockout mode.
I had to read the directions on what to do. At first the light wound’t turn on with a click and release. I had to keep holding down the light button because the light was in lockout mode described above. Once I read the directions, everything made sense.
Upon my first observation, the light presented itself as a robust and well-built unit. Its streamlined appearance stood out, especially when compared to others in the same category.
The light is designed to be ambidextrous, allowing the same functionality to work for both left and right handed people. The light is really intuitive and feels natural to turn on and off the light.
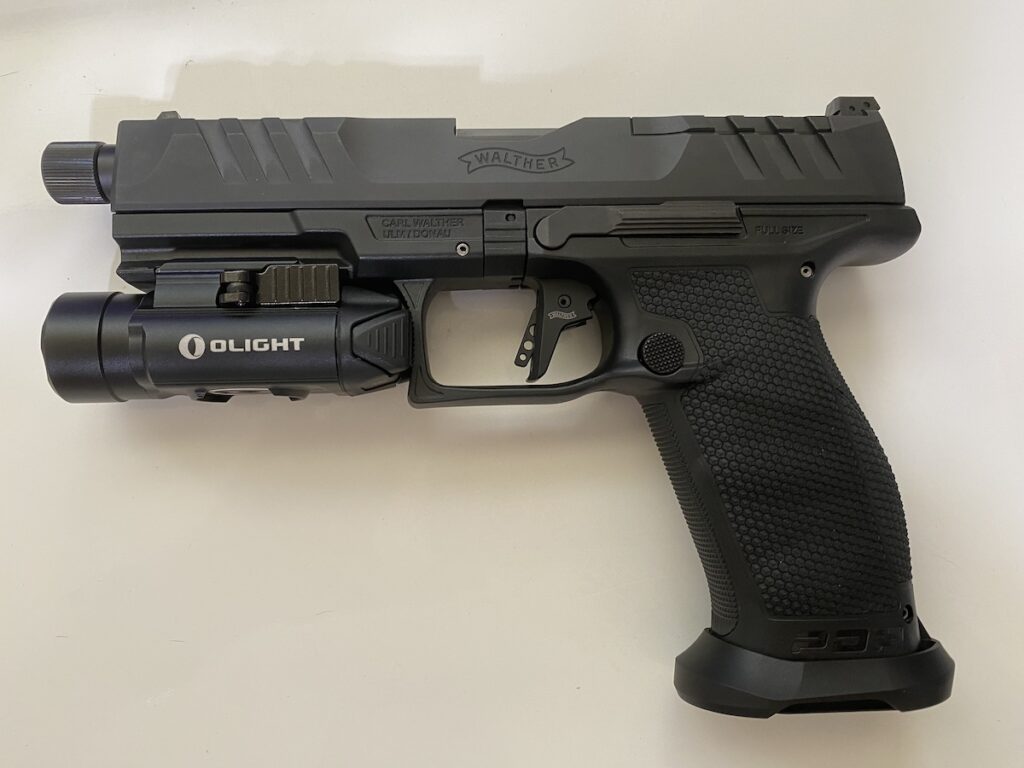
When mounted on my Walther PDP Pro with the Olight PL-Pro Valkyrie, the on/off light buttons are just past the trigger guard and make for a perfect fit.
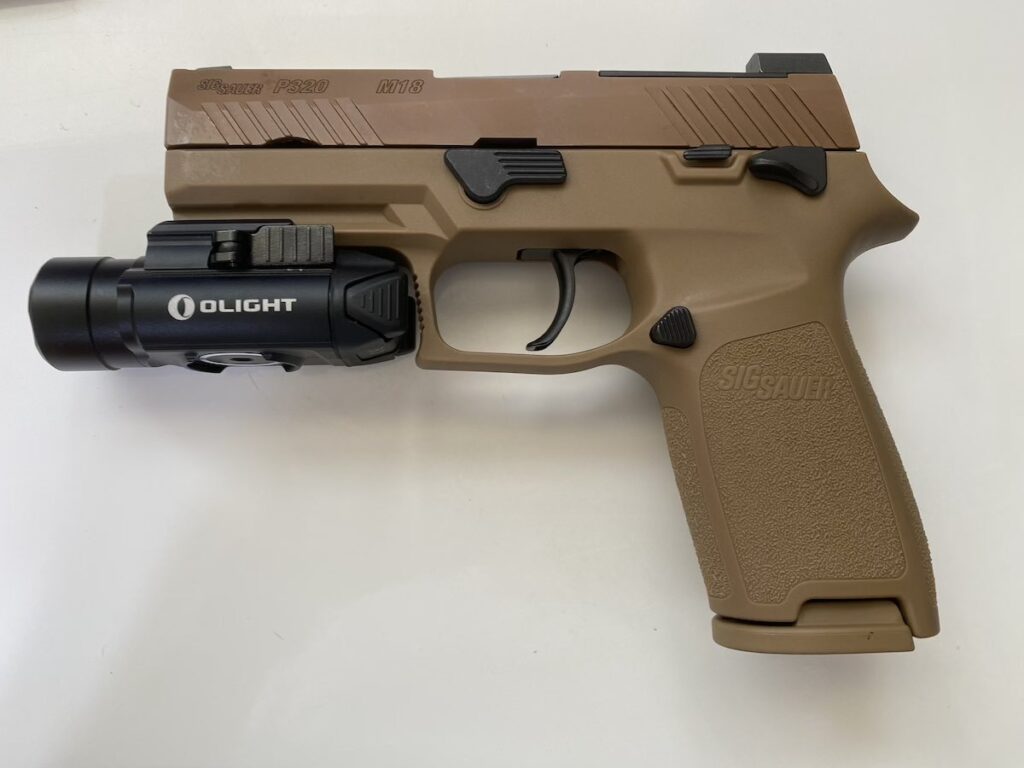
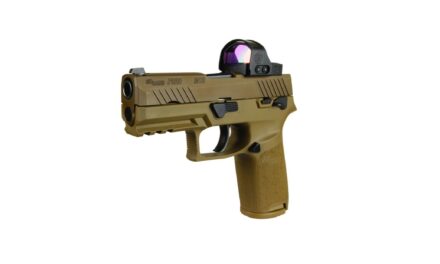
While the Walther PDP is a full sized pistol, the Sig M18 uses a compact-length slide with a 3.9-inch barrel, making the weapon lighter and handier overall. The Olight fits, but I found it sits a little further away from the trigger guard, making it not as convenient to use on this gun vs the Walther. The Olight also sticks out much further on the M18.
Quick Product Overview
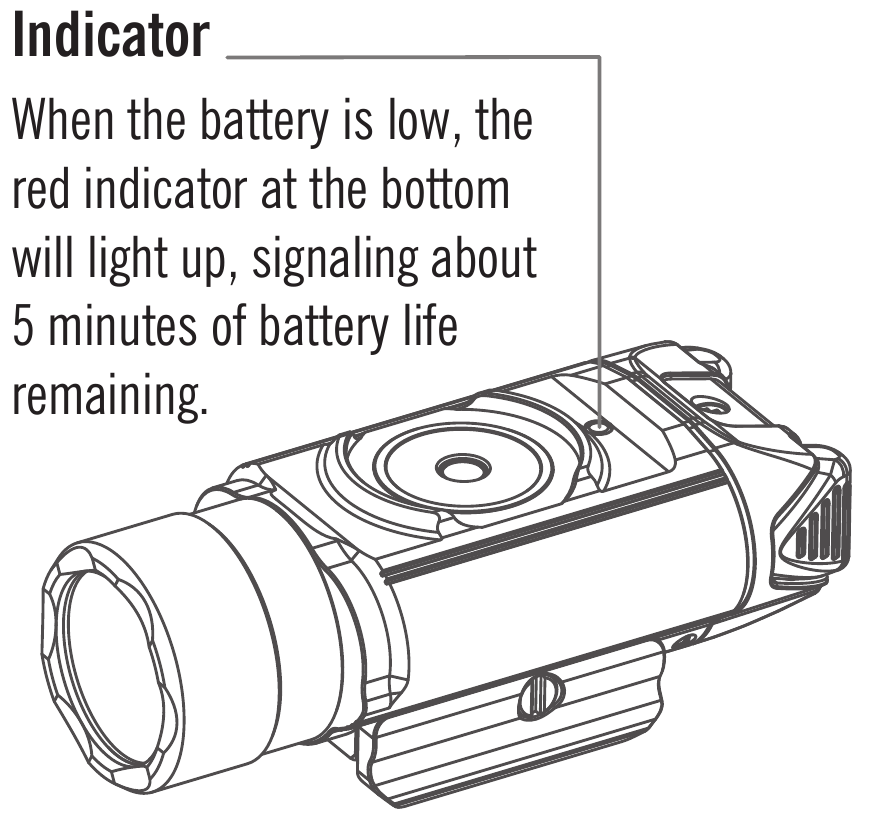
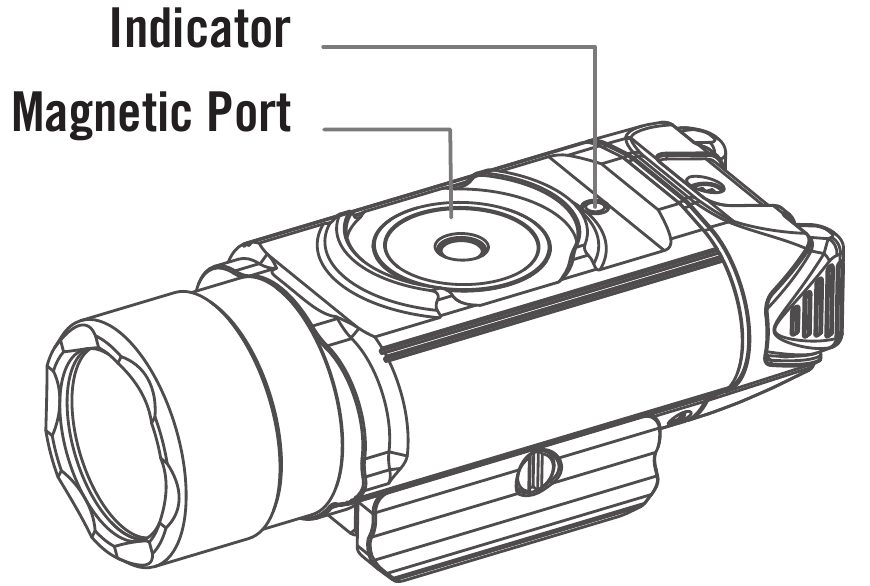
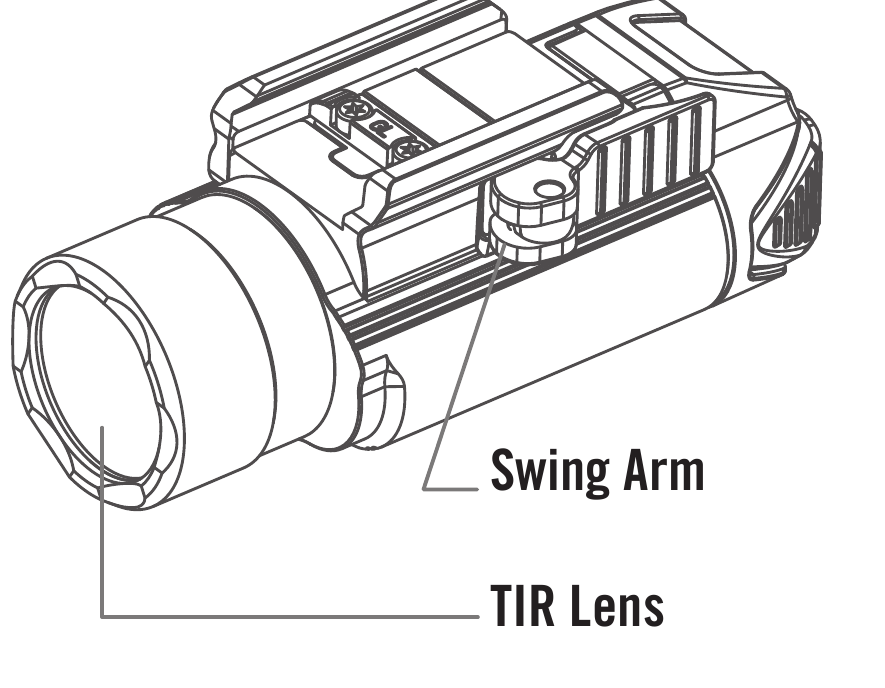
Gun | Rail Compatibility
The Olight PL Pro is compatible with either a mil-std-1913 rail or a Glock-style rail system. The pre-installed Glock adapter (labeled GL) facilitates immediate use on all Glock-sized rails. In instances where firearms utilize Picatinny (mil-std-1913) rails, users are required to replace the GL adapter with the included 1913 adapter, utilizing the screws and socket head wrench provided in the package.
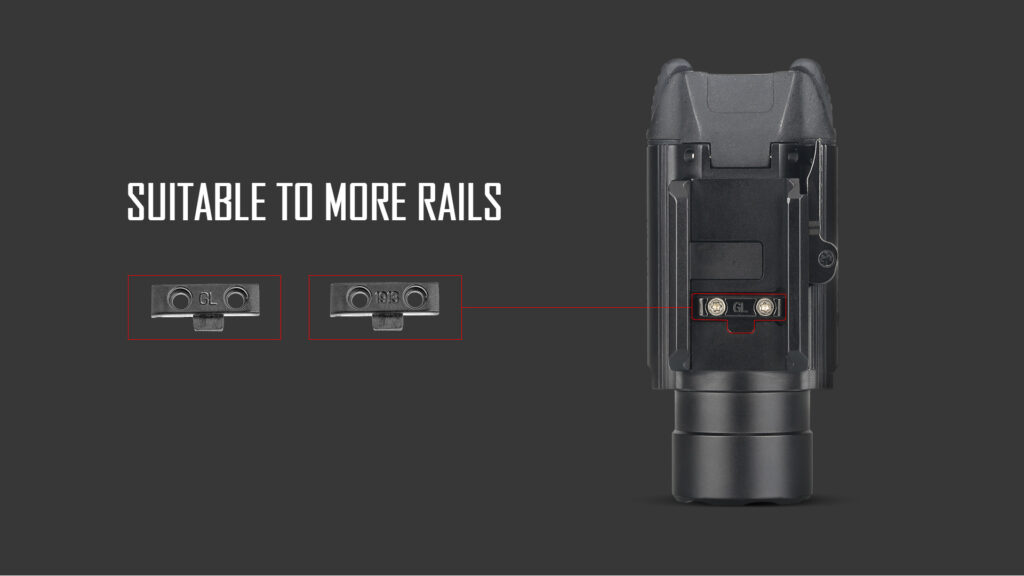
Since I don’t own any Glocks or Glock rail guns, I switched out the Default Glock adapter for the Picatinny 1913 adaptor. Attaching the light to my Walther PDP Pro and Sig Sauer P320 M18 was super easy and switching between pistols was super quick.
Installation
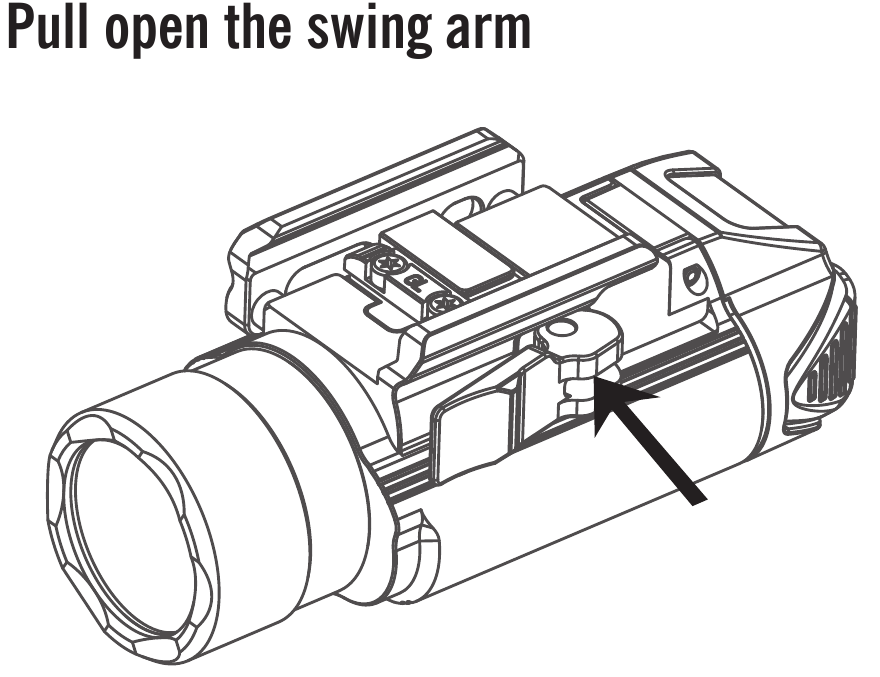
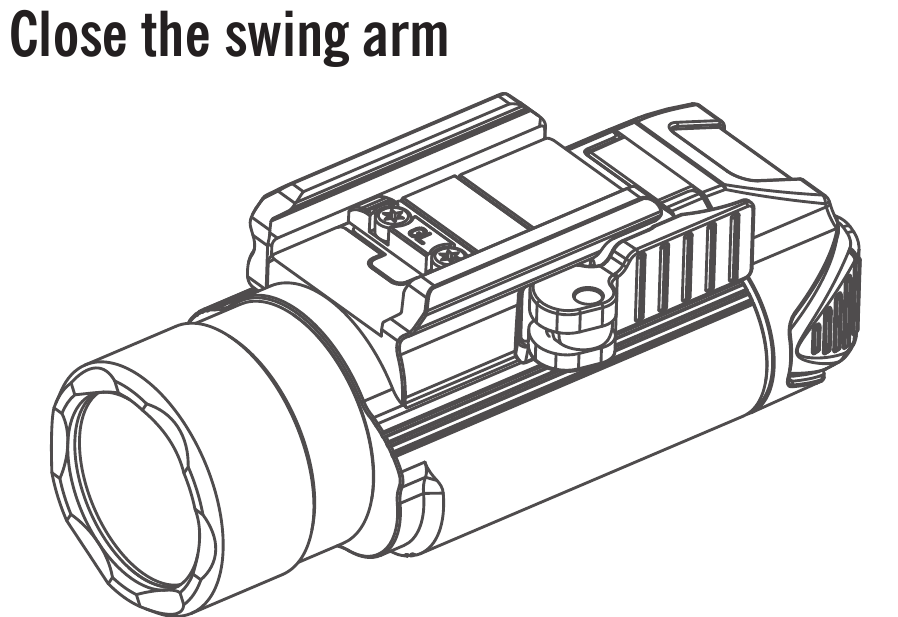
Open the Olight PL Pro’s swing arm, as demonstrated in the illustration. Ensure that the insert properly fits into the notch on your rails. Close the swing arm once it is properly aligned.
I really like the way the swing arm works, without the need for any tools to attach the light to the pistol or rifle with a Glock or Picatinny 1913 rail system.
Operation of the Olight PL Pro
The PL Pro comes with several mod options
- Constant On: Quickly click either switch to turn on the light at the memorized brightness level. Single click again to turn off the light. While the light is off, perform a quick double click on either switch to enter high mode.
- Momentary On: Press and hold either switch to activate the light temporarily; release the switch to turn it off.
- Change Brightness: Execute a quick double click on either switch to toggle between high and low brightness modes.
- Strobe: Simultaneously press both switches to activate the strobe mode. In strobe mode, either single click on a switch or press both switches simultaneously to turn off the light.
- Lockout/Unlock: Press and hold either switch for approximately half a second, then press and hold the other switch for about two seconds until the light turns off. In lockout mode, a single click on either switch activates momentary on (approximately 100 lumens). To exit lockout mode, press and hold both switches simultaneously for about two seconds until the brightness increases, indicating the light is now unlocked.
SPECIFICATIONS
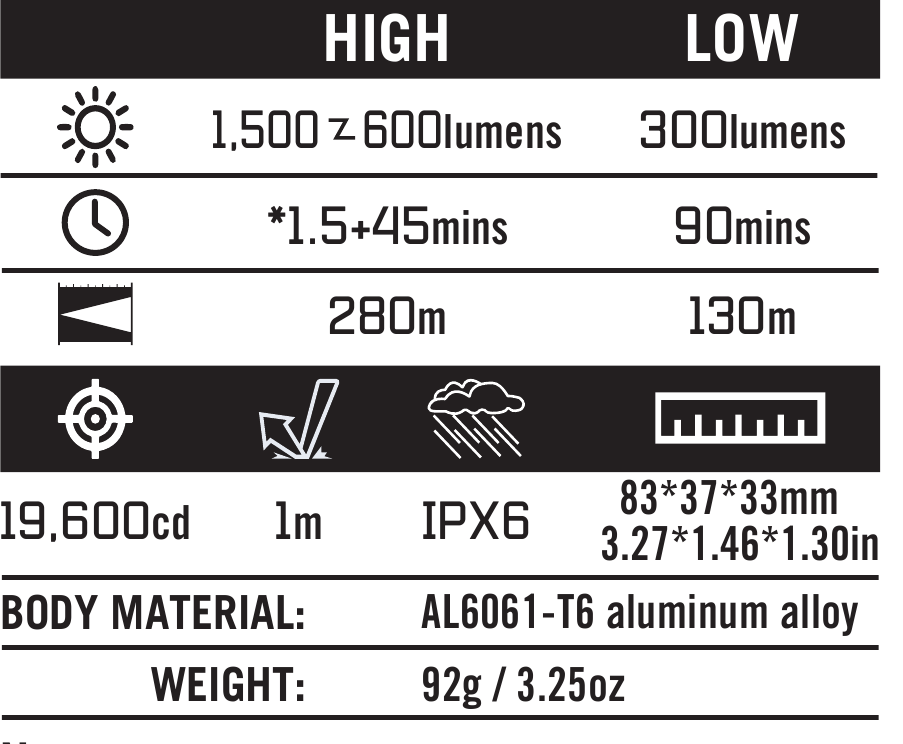
Material: 6061-T6 aluminum alloy structure, Type Ⅲ hard anodizing.
Flash Sales
Save before you buy.
When you subscribe to Olight’s newsletter, subscribers will receive an email notification anytime there is a flash sale. Olight also has a Facebook group page (www.facebook.com/groups/Olight) that you can join..

